
Home beauty works best when you treat it like a routine you can repeat, not a one-night “fix everything” experiment, because most issues people run into at home come from stacking too many actives, using devices too often, or chasing instant results.
If you’ve ever bought a tool, tried a trending DIY facial treatment, and ended up with redness that hangs around for days, you’re not alone. At-home skincare can be genuinely effective, but it rewards consistency and good guardrails more than intensity.
This guide focuses on practical, low-drama choices: how to structure an at-home skincare routine, which home facial devices are worth considering, where at-home chemical peel and dermaplaning at home can go wrong, and how to build a plan around your skin’s tolerance.
Key idea: you don’t need every tool. You need the right mix of basics, a targeted “extra,” and enough recovery time for your barrier.
What “home beauty” usually gets wrong (and why results stall)
Most at-home routines fail for boring reasons, not mysterious ones. People either do too much too fast, or they don’t do the basics long enough to see payoff.
- Barrier burnout: combining exfoliants, retinoids, and devices in the same week can trigger stinging, flaking, or breakouts that look like “purging” but often aren’t.
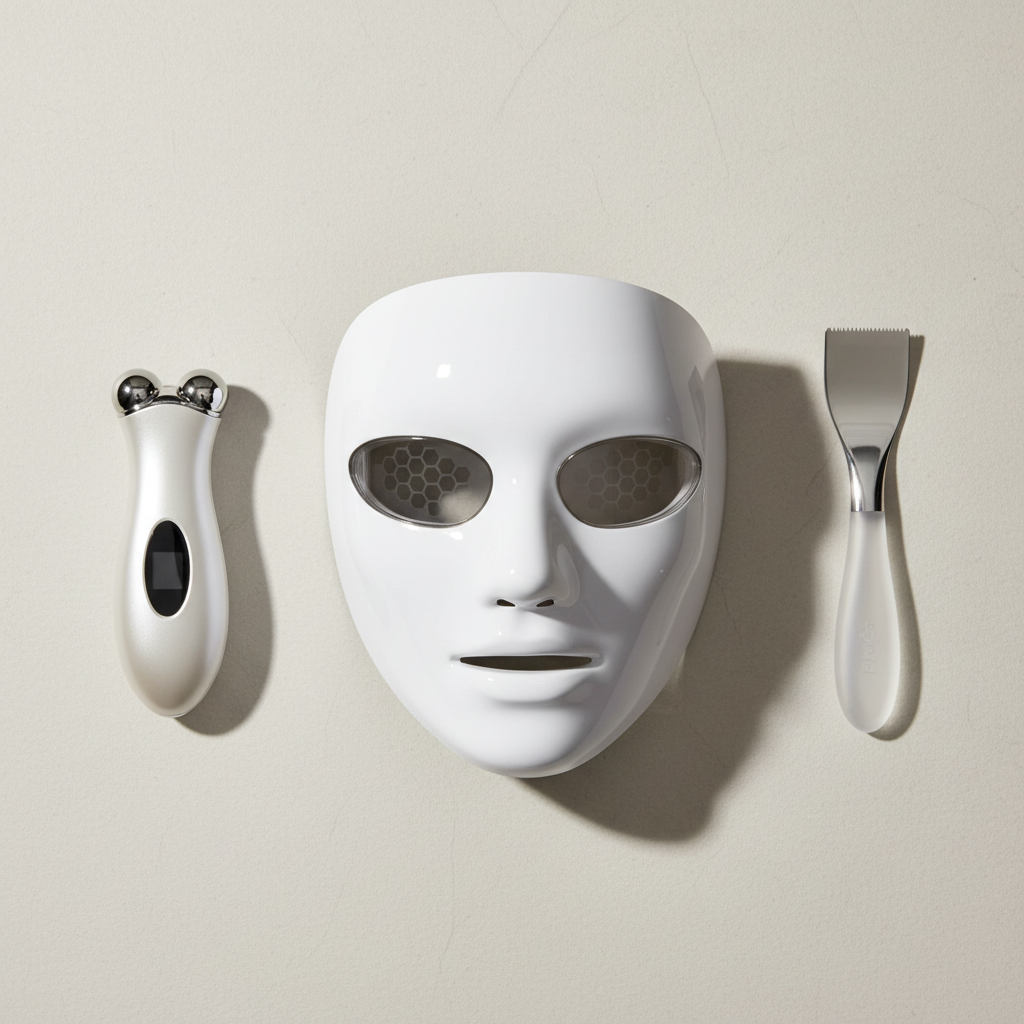
- Tool overload: buying an ultrasonic skin scrubber, an LED light therapy mask, and an at-home microcurrent device, then using all three “because they’re gentle,” can still be too much cumulative stimulation.
- Skipping sunscreen: if you exfoliate (especially with an at-home chemical peel) and don’t commit to daily SPF, you may see more sensitivity or uneven tone over time.
- Unclear goal: “better skin” is vague. Fine lines, acne, texture, and hyperpigmentation each benefit from different approaches.
According to the American Academy of Dermatology (AAD), daily sun protection is a core step for preventing photoaging and supporting more even tone, which matters even more if you use exfoliating products at home.
Quick self-check: which at-home plan fits your skin right now?
Before you add devices or strong actives, do a quick reality check. This is the part people skip, then wonder why the “same product” works for everyone else.
- You’re in a sensitive phase if water stings, you flush easily, or you’re peeling around the nose and mouth.
- You’re acne-prone if you get recurring clogged pores on the chin/forehead, or breakouts after heavy creams and oils.
- You’re targeting texture if makeup clings to rough patches or you feel “bumpiness” even when you’re not breaking out.
- You’re targeting aging if you care most about firmness, fine lines, and overall “tired” look.
If you’re in a sensitive phase, your best move is usually subtraction, scale back actives and devices for 2–3 weeks, then add one change at a time.
Build a repeatable at-home skincare routine (the “boring” structure that works)
A solid at-home skincare routine is a small set of steps you can do even when you’re busy. Then you earn the right to add extras.
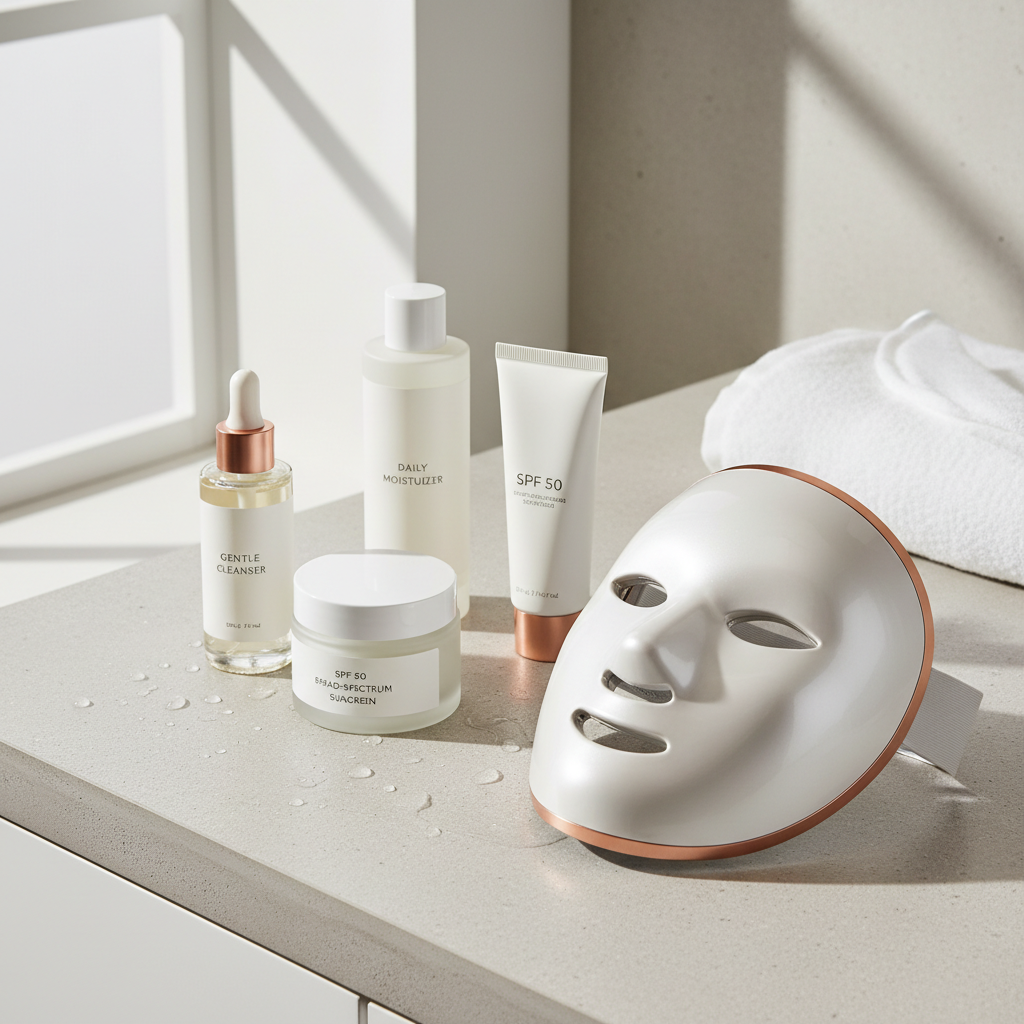
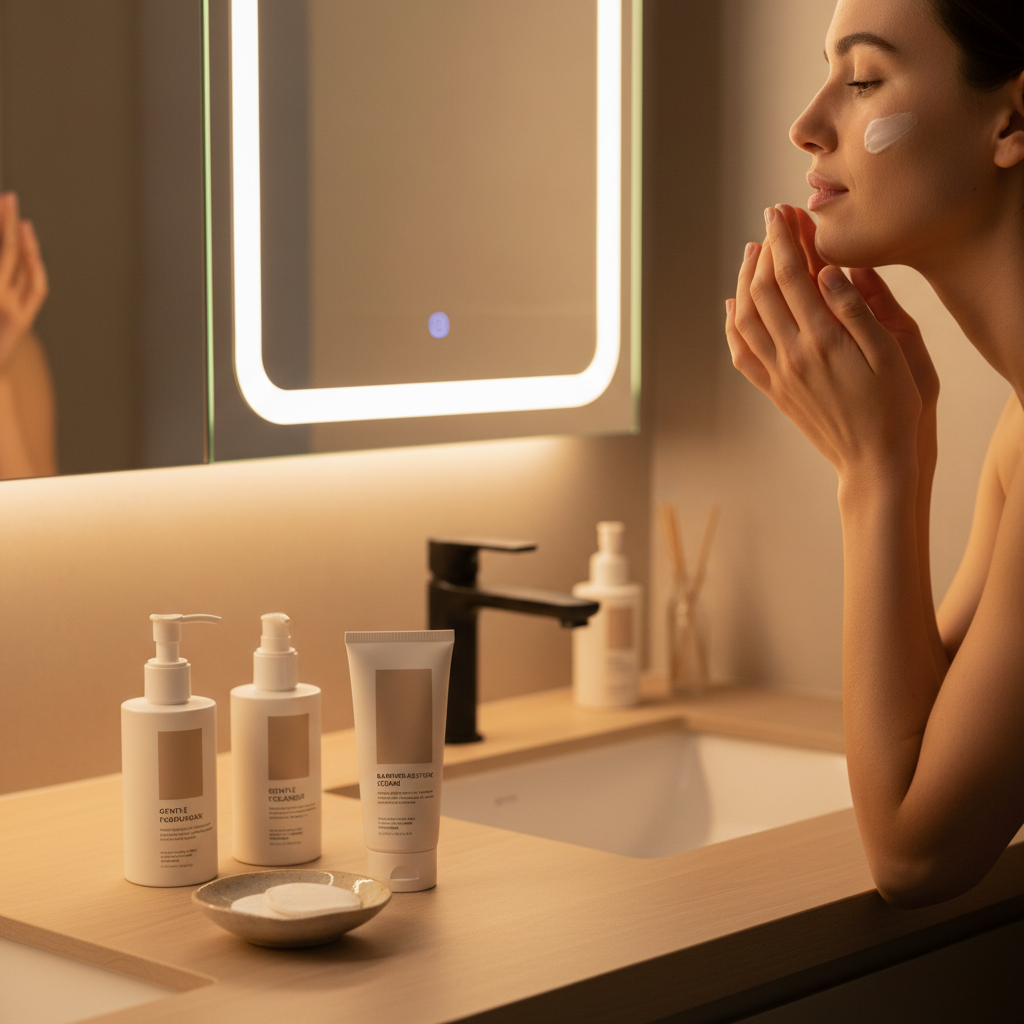
AM routine (simple, protective)
- Gentle cleanse (or rinse only if you’re very dry/sensitive)
- Moisturizer that doesn’t sting
- Broad-spectrum SPF 30+ every day
PM routine (repair + one targeted step)
- Cleanse to remove sunscreen and makeup
- One active (example: retinoid OR exfoliant OR acne treatment)
- Moisturizer (consider a richer one if you feel tightness)
When home beauty feels complicated, it’s often because you’re trying to run three “programs” at once. Pick one priority for 8–12 weeks, then reassess.
Devices and treatments: what they do, what to watch, and who they fit
Home facial devices can be helpful, but they’re not interchangeable. The safest wins usually come from correct use and realistic frequency.
Fast comparison table (use this to choose one “extra”)
| Option | Best for | Common mistakes | How often (typical) |
|---|---|---|---|
| LED light therapy mask | Redness support, maintenance, some acne routines (device-specific) | Inconsistent use, expecting instant lift, skipping eye protection if required | Several times/week, short sessions (follow device guidance) |
| At-home microcurrent device | Temporary “lifted” look, facial muscle stimulation feel | Using without conductive gel, overdoing intensity, using on irritated skin | 2–5 times/week early on, then maintenance (varies) |
| Ultrasonic skin scrubber | Surface buildup, gentle help with congestion for some people | Pressing too hard, using on dry skin, treating it like a “deep peel” | 1–2 times/week for many routines |
| At-home chemical peel | Texture, dullness, uneven tone (when chosen carefully) | Too strong too soon, layering with retinoids, ignoring recovery | Every 1–4 weeks depending on strength |
| Dermaplaning at home | Peach fuzz + surface smoothness, makeup application | Using dull blades, shaving over acne, doing it too frequently | Every 2–4 weeks for many people |
| Home hair removal device | Long-term hair reduction goals (device-dependent) | Wrong settings for skin tone/hair color, sun exposure too close to sessions | Weekly early on, then maintenance (varies) |
According to the U.S. Food and Drug Administration (FDA), some home-use light-based devices and LED products may be cleared for specific uses, so it’s worth checking a device’s intended use, contraindications, and instructions rather than relying on trends.
Step-by-step: a safer weekly schedule (so you don’t stack irritation)
If you want results and also want to keep your skin calm, scheduling is where home beauty becomes “easy.” Here’s a flexible framework you can adapt.
Option A: Device-focused week (gentle actives)
- Most days: cleanse, moisturize, SPF
- 2–4 nights: LED light therapy mask or at-home microcurrent device (pick one to start)
- 1 night: mild exfoliant (low-strength AHA/BHA) if your skin tolerates it
- 1–2 nights: “recovery only” (no actives, no tools)
Option B: Exfoliation-focused week (minimal devices)
- 1 day: at-home chemical peel (conservative strength), then moisturize heavily
- Next 48–72 hours: no retinoids, no scrubs, no dermaplaning at home
- Later in week: optional LED session if you’re not reactive
Rule that saves people: don’t combine “big” moves in the same window, peel + dermaplane + microcurrent in one weekend often ends in regret.
DIY facial treatment: what’s reasonable at home vs what to skip
A DIY facial treatment can mean anything from a hydrating mask to kitchen-ingredient experiments. The first category can be fine, the second category tends to be unpredictable.
- Usually reasonable: fragrance-free hydrating masks, occlusive “slugging” for very dry skin (not great if you clog easily), warm compress for comfort.
- Higher risk: lemon juice, baking soda, undiluted essential oils, aggressive physical scrubs, or mixing acids “to make it stronger.”
According to the American Academy of Dermatology (AAD), irritation and allergic reactions are common reasons people end up with worsening redness or dermatitis, and DIY mixtures can increase that risk because concentration and pH are unknown.
If you love the “spa” feel, you can still get it without risky chemistry: cleanse, use a hydrating serum, seal with moisturizer, then take the win.
Common mistakes with anti-aging tools (microcurrent, LED, exfoliation)
At-home anti-aging tools can be a nice add-on, but the payoff is usually subtle and cumulative. The mistake is treating them like a one-time event.
- Expecting permanent lift: an at-home microcurrent device often gives a short-term look; the long-term value depends on steady use and realistic expectations.
- Over-exfoliating for “glow”: glow should not come from rawness. If you feel heat or sting daily, scale back.
- Ignoring the neck and hands: if you tolerate a product on your face, you might extend carefully, but patch test first since those areas can react differently.
- Mixing too many actives: retinoid + peel + strong vitamin C + scrub often equals irritation, not faster results.
Practical tip: keep one “anti-aging lever” active at a time, either a retinoid program or a device program, then layer cautiously once your baseline stays calm.
When to get professional input (and when to pause at home)
Home beauty is for maintenance and gradual improvement, but there’s a line where you should stop experimenting and ask for help.
- Stop and consult a clinician if you have swelling, blistering, hives, severe burning, or a rash that spreads.
- Get guidance if you have melasma, rosacea, eczema, or a history of post-inflammatory hyperpigmentation, since some peels and devices can worsen these in some cases.
- Be extra cautious if you’re pregnant, breastfeeding, using prescription acne/anti-aging products, or you have a pacemaker or implanted device, some home facial devices may not be recommended.
According to the American Academy of Dermatology (AAD), persistent or severe irritation warrants evaluation, and it’s typically better to bring your product list and device names to a visit than to “push through.”
Conclusion: a simple way to make at-home skincare actually stick
Home beauty becomes much easier when you commit to basics, choose one “extra,” and schedule recovery like it’s part of the plan. If you want a clean next step, pick your primary goal, simplify your routine for two weeks, then add either an LED light therapy mask or one gentle exfoliation lane, not both at once.
Action steps: write down your current products, circle the ones that sting, pause them for a short reset, then rebuild with cleanser, moisturizer, SPF, and one targeted treatment you can use consistently.