
how to organize charging station for multiple devices usually comes down to two things: reducing cable mess and making sure everyone can charge safely without hunting for the “right” cord.
If your nightstand, kitchen counter, or entryway has turned into a tangle of adapters, you’re not alone. Mixed device types, fast-charging bricks, and shared family chargers create clutter fast, and the clutter quietly costs time every day.
This guide breaks the setup into practical choices: where to place a station, what hardware actually helps, and the small habits (labeling, resets, weekly checks) that keep it tidy long-term.
Start with a quick plan: location, users, and device mix
Before buying organizers, decide what “success” means for your space. A good station is less about aesthetics, more about frictionless daily use.
- Location: entryway for grab-and-go, kitchen for shared charging, bedroom for overnight, office for work devices.
- Users: one person is simple, a family needs clearly assigned ports and cables.
- Device mix: phones, tablets, earbuds, watches, power banks, and sometimes laptops.
- Charging speed needs: a few devices may need higher-watt USB-C, others are fine with standard USB-A.
A useful rule: put the station where people already “drop” items, not where you wish they would. That one decision prevents half the mess.
Why charging stations get messy (and what to fix first)
Most clutter comes from predictable causes, and you can usually fix them without a full redesign.
- Too many loose adapters: every device brings its own brick, then nobody knows what belongs to what.
- Cables are the wrong length: extra-long cords coil into knots, short cords pull devices off the table.
- No “home” for small items: earbuds and watches slide behind furniture and drag cords with them.
- Shared cables with no labels: people unplug what they need, then leave the rest half-connected.
- Power strip overload: everything works until it doesn’t, then someone adds one more splitter.
According to UL Solutions, using properly rated power strips and avoiding overload helps reduce electrical risk. If your setup involves many adapters in one strip, it’s worth simplifying.
Choose the right setup: hub vs. power strip vs. drawer station
There isn’t one perfect layout, but there are patterns that work in most homes. Use the table to match your situation.
| Setup type | Best for | Pros | Watch-outs |
|---|---|---|---|
| Multi-port USB charging hub | Phones, tablets, earbuds | Fewer bricks, cleaner look | Check total wattage and port mix (USB-C vs USB-A) |
| Surge protector + a few quality adapters | Mixed devices, including laptops | Flexible, easy to expand | Bulkier, more visual clutter if unmanaged |
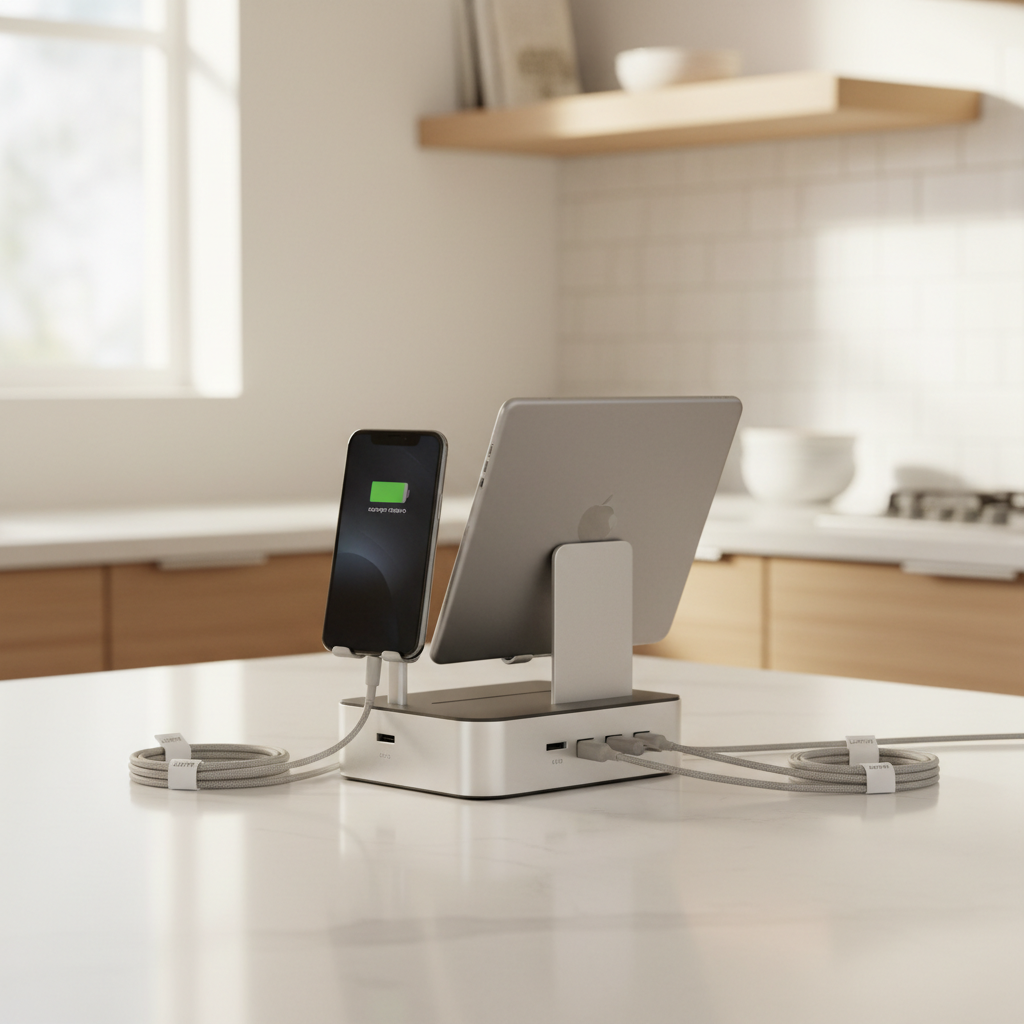
| Charging dock/stand system | Shared family stations | Each device gets a “slot,” less cable pulling | May not fit cases or larger tablets |
| Drawer or cabinet charging station | People who want zero visual clutter | Hidden cables, tidy surfaces | Heat buildup is possible; allow ventilation, avoid piling adapters |
If you’re organizing a station for multiple devices, most households do well with a USB hub plus one surge protector nearby for anything that needs its own adapter.
Self-check: what you actually need (before you buy anything)
Run through this list quickly. It prevents the common mistake of buying a big organizer, then realizing the cables or wattage don’t match your devices.
- Count devices that charge daily, then add 2 extra slots for guests or new gadgets.
- List connectors you need: USB-C, Lightning, Micro-USB (still common for older accessories), and any watch puck.
- Check if anyone needs fast charging (often USB-C PD for newer phones/tablets).
- Measure the distance from outlet to station surface, then pick cable lengths that land with a small slack loop, not a coil.
- Decide: do you want cables permanently attached, or swappable for flexibility?
If you’re unsure on power needs, don’t guess. Device manufacturers usually list charging requirements, and a qualified electrician can advise if you suspect outlet or circuit limitations.
Step-by-step: how to organize a charging station for multiple devices
This is the workflow that tends to stick, because it focuses on daily behavior, not just a one-time “cleanup.”
1) Consolidate power safely
- Use one surge protector with enough spacing for adapters, or a slim hub to reduce bricks.
- Keep the station on a stable surface, away from sinks and places where spills are likely.
- Don’t daisy-chain power strips, and avoid using damaged cords.
2) Assign a cable to each “slot”
- Give each family member a specific connector (or color) to reduce unplugging wars.
- If you share cables, set a rule: unplug devices, not the cable end at the hub.
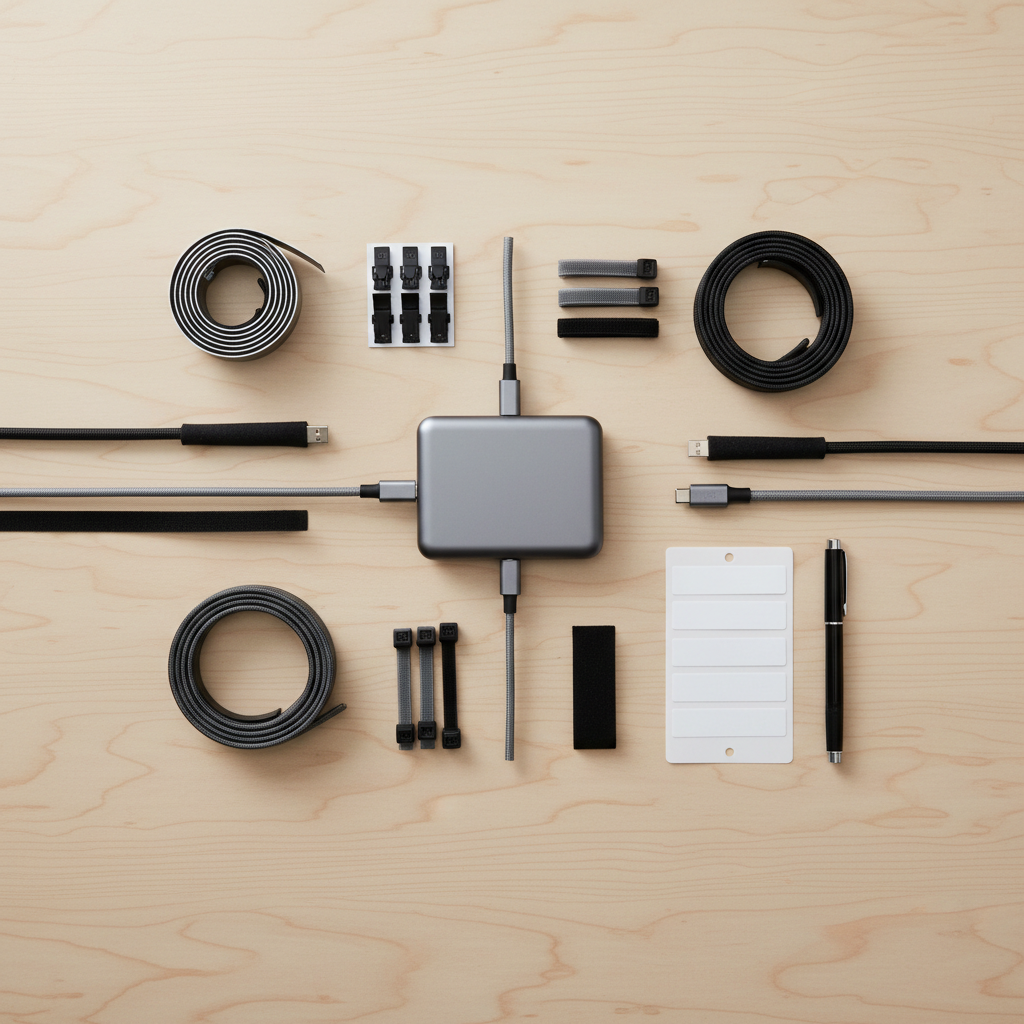
3) Control cable length and routing
- Use adhesive cable clips along the back edge so cords drop straight down.
- Add Velcro ties to manage the slack, leaving enough length to pick up the device.
- For a cleaner look, a braided sleeve can bundle several cords into one trunk line.
4) Create homes for small gear
- Use a small tray for earbuds, watch bands, and adapters that must stay nearby.
- If you charge a watch nightly, keep the puck mounted or seated so it doesn’t fall behind the table.
5) Label what matters
- Label the hub ports or cable ends with names, device types, or “fast charge.”
- Keep labels readable, but not bulky, small tags beat big wraps.
Practical layouts that work in real homes
Pick one layout and commit for a week. Switching layouts daily is usually why stations “never stay organized.”
Entryway drop zone (grab-and-go)
- One compact hub, 3–5 short cables, one tray for keys and earbuds.
- Best when you want charged devices before leaving, but you don’t want overnight charging in bedrooms.
Kitchen family station (shared)
- Dock/stand with labeled slots, medium-length cables, and a clear “no food/drinks next to chargers” boundary.
- Consider one extra cable specifically for guests so nobody unplugs the main set.
Home office station (work + personal)
- Separate work devices from personal ones: different side of the desk, different color cables.
- If you dock a laptop, keep higher-watt charging on the surge protector, and use the hub for smaller devices.
Common mistakes (and quick fixes)
A lot of “mess” is really one small decision repeating every day.
- Mistake: Buying the biggest hub you can find. Fix: Match port types and wattage to your device list, not your anxiety.
- Mistake: Mixing premium and mystery cables. Fix: Retire flaky cords, keep a small backup stash elsewhere.
- Mistake: Letting heat build up in a drawer. Fix: Provide airflow, avoid stacking adapters, and check cords periodically for warmth.
- Mistake: No reset routine. Fix: A 2-minute weekly reset: re-seat cables, wipe dust, re-label if needed.
According to NFPA, electrical safety at home includes using equipment as intended and avoiding damaged cords or overloaded circuits. If outlets run hot, trip breakers, or look scorched, stop using that setup and consult a professional.
Key takeaways you can use today
- One station, one purpose beats “chargers everywhere.”
- Short, correct-length cables reduce clutter more than any box organizer.
- Labels and assigned slots prevent daily unplugging chaos.
- If you hide the station, think about ventilation and safe power management.
Organizing a multi-device charging area isn’t about perfection, it’s about making the default behavior the tidy one. Pick a location, consolidate power, lock in cable routing, then do a quick weekly reset and it stays surprisingly calm.
If you want a simple next step, start by replacing mismatched cords with a consistent set and adding cable clips, those two changes solve most day-to-day frustration.
FAQ
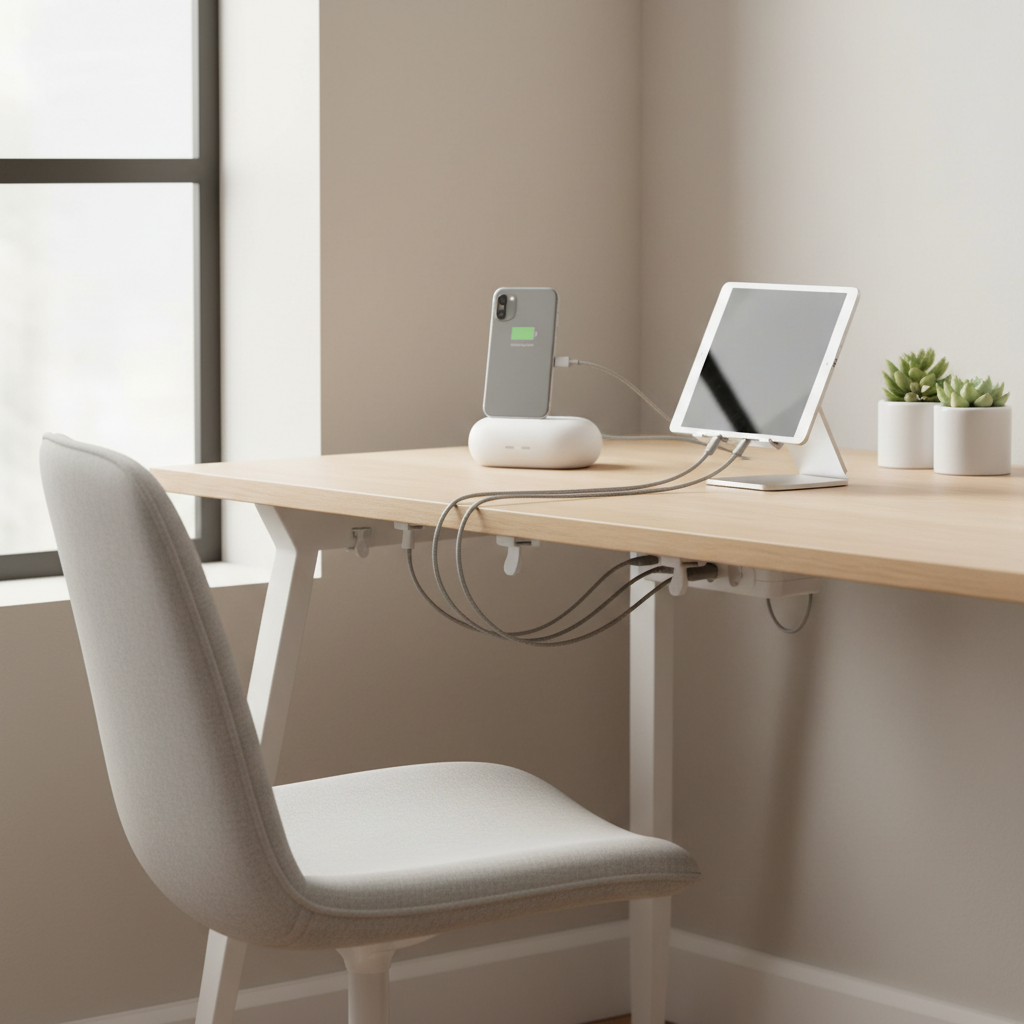
How do I organize a charging station for multiple devices in a small apartment?
Go vertical: a compact dock plus short cables keeps the footprint small. If counter space is tight, consider mounting a surge protector under a shelf and routing cables down with clips.
Is it safe to charge many devices on one power strip?
Often it can be, but it depends on the strip rating and what you plug in. Avoid daisy-chaining strips, don’t use damaged cords, and if you’re unsure about load or heat, it’s smart to ask a qualified electrician.
What cable length is best for a shared charging station?
In many home setups, 3–6 ft cables work, but measure your actual outlet-to-surface distance. The goal is a small slack loop, not a coil that turns into knots.
Should I use a multi-port USB hub or individual chargers?
A good hub reduces clutter, especially for phones and tablets. Individual chargers still make sense for high-watt devices or when you need specific fast-charging behavior that a basic hub might not support.
How can I keep family members from unplugging the wrong cable?
Labels help, but “assigned slots” help more. Give each person a dedicated cable position and add one guest cable so nobody feels forced to borrow.
What’s the best way to organize Apple and Android chargers together?
Keep both USB-C and Lightning available, and separate them by color or by left/right side of the dock. If you standardize most devices on USB-C where possible, the station usually gets simpler over time.
Can I put a charging station inside a drawer?
You can, but pay attention to heat and airflow, and avoid stacking adapters. If anything feels unusually warm or you notice a burning smell, stop using it and get the setup checked.
If you’re organizing a shared space and want it to stay clean without constant reminders, a pre-planned kit (hub + correctly sized cables + labels + clips) usually makes the setup feel “done” instead of forever in progress, and it’s often the difference between a station people use and one they bypass.